How to Manage Web Actions
Web Actions List
The web actions configuration section can be accessed as shown in the figure.

How to Define a Web Action
To define a new web action, you need to click on the FAB and then fill the form.
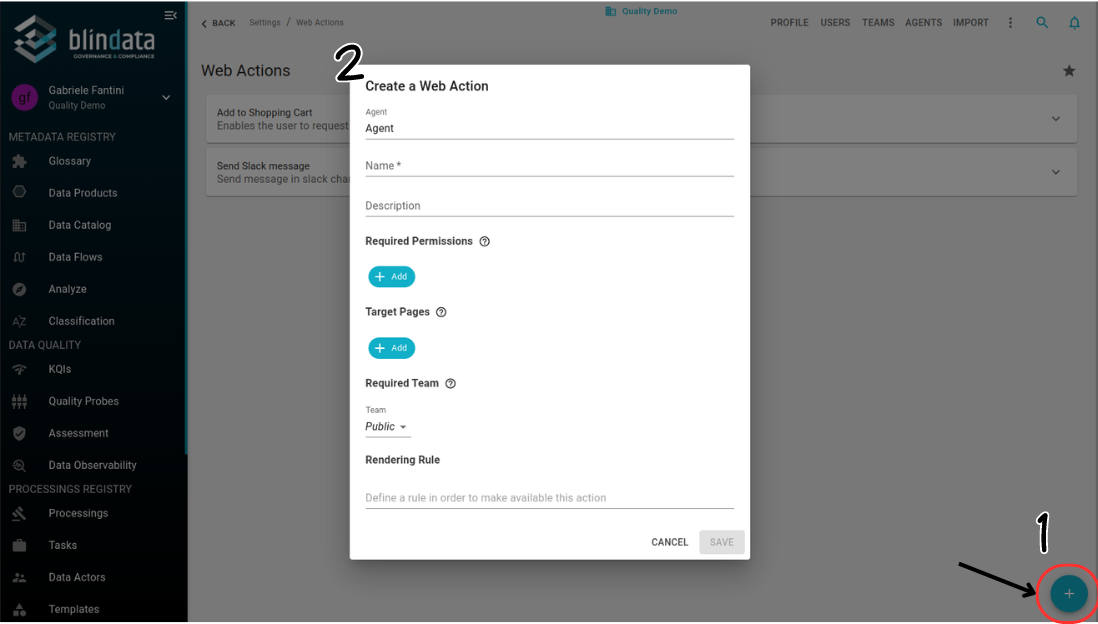
User can define:
- Agent: The agent on which to define the configurations of the action (mandatory).
- Name: Action name (mandatory).
- Description: A description of the web action.
- Required Permissions: The permissions required for the end user to be able to see the action.
- Target Pages: The pages on which the action can be available.
- Required Team: The team to which the action is associated. If a team is associated, only those who have a policy defined on that team will be able to see the action.
- Rendering Rule:A JSON object (optional). If the web action is available on a “detail page,” the JSON object will be matched against the resource. If the JSON object is entirely contained within the resource, the web action will be displayed.