Getting Started with Issue Management
Blindata, through the Issue Management module, supports a well-structured process for managing issues and reports. The Issue Management module is accessible under the “Management” > “Issues” item of the platform menu, as shown in the figure.
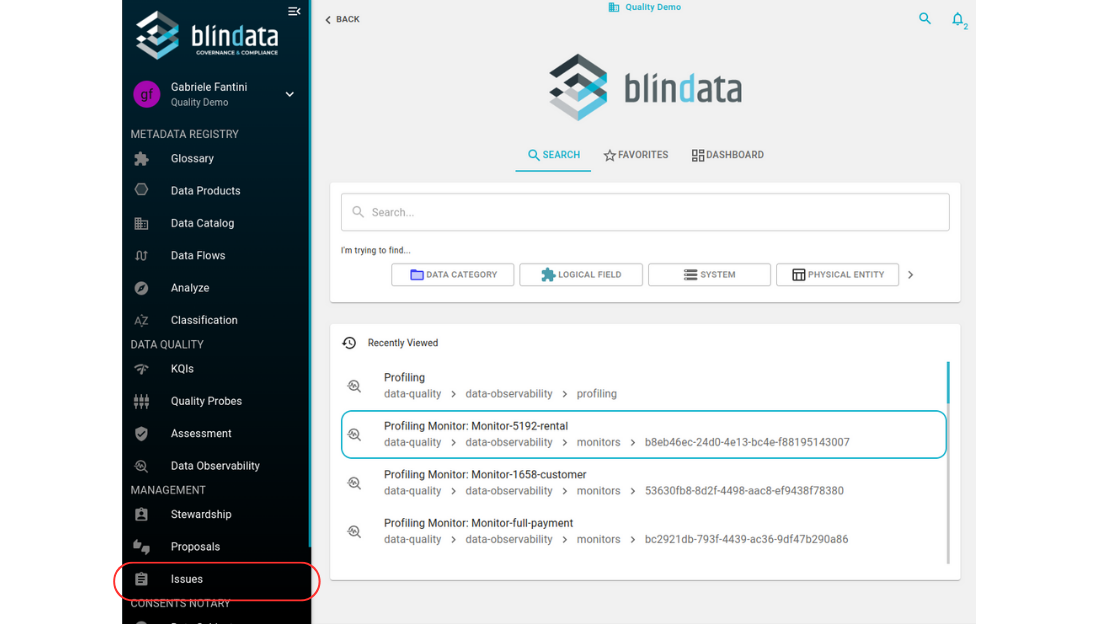
The section contains two pages:
-
My Work : The page presents the list of all the issues that have been assigned to the current user or to a team to which the user belongs; the page is automatically filtered to show open issues (i.e. all those in a state other than
DONE).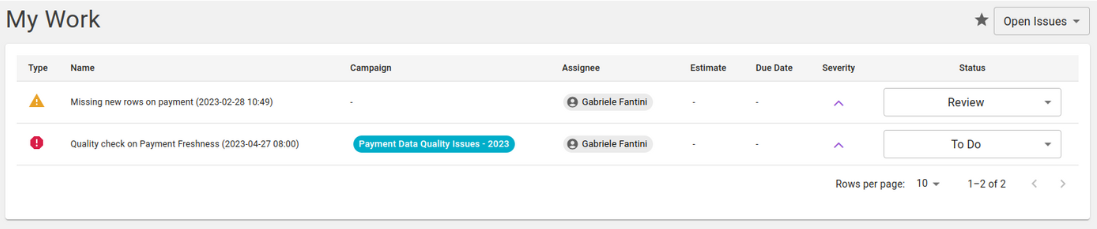
-
Issues : The page lists all the issues that are present on the platform; the page is automatically filtered to immediately see the open issues (i.e. all those in a state other than
DONE). Issue navigation tools are available on the page: it is possible to search for the issue of interest by name using the search box at the top right or filter the issues using the appropriate form. It is also possible to download the CSV file of the filtered issues.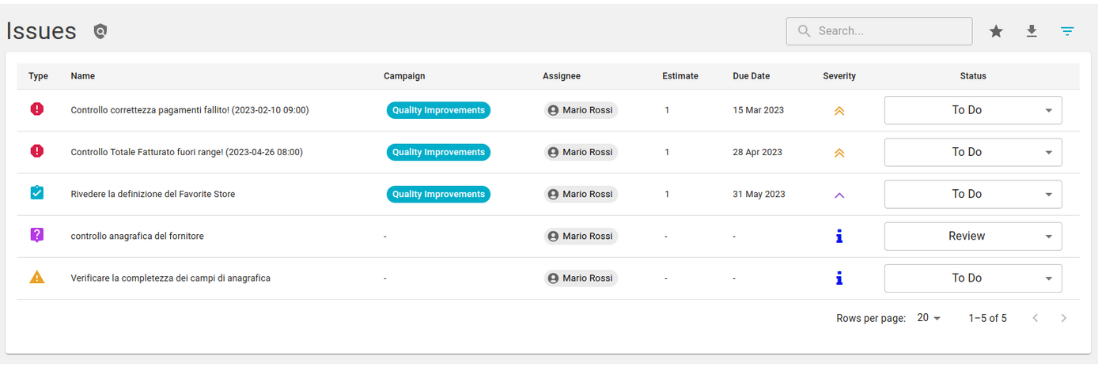
Each record of the “My Work” page and of the registry is interactive. Firstly, it is immediately possible to change the status of an issue using the appropriate drop-down menu. Furthermore, clicking on the record brings to the detail page of the issue.
How to Create and Edit an Issue
Use the FAB button on the “Issues” page to create a new issue.
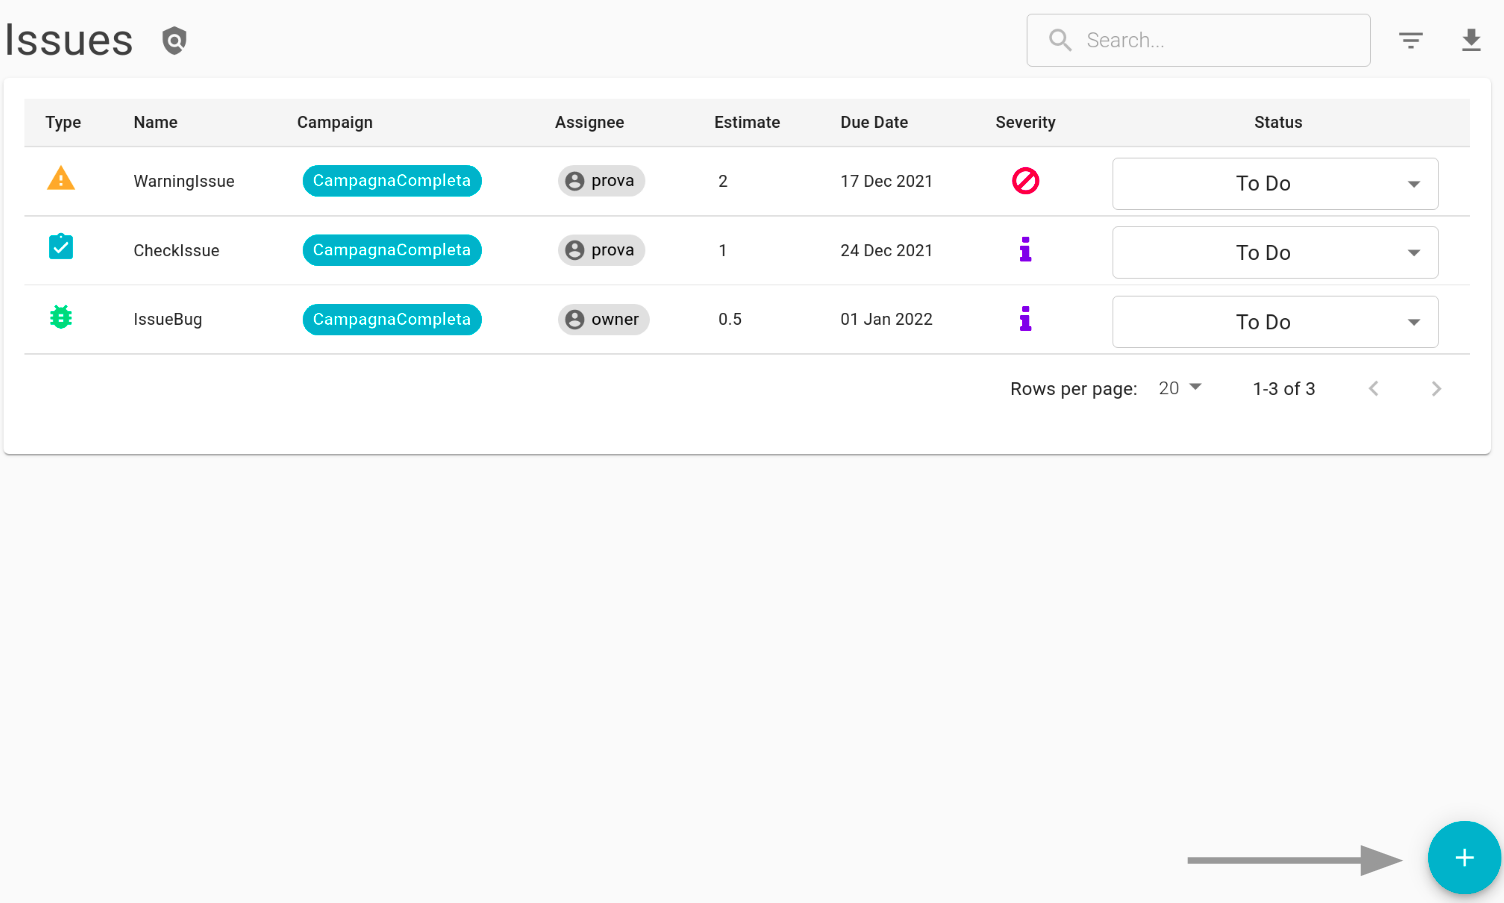
Then proceed to complete the form that just appeared.
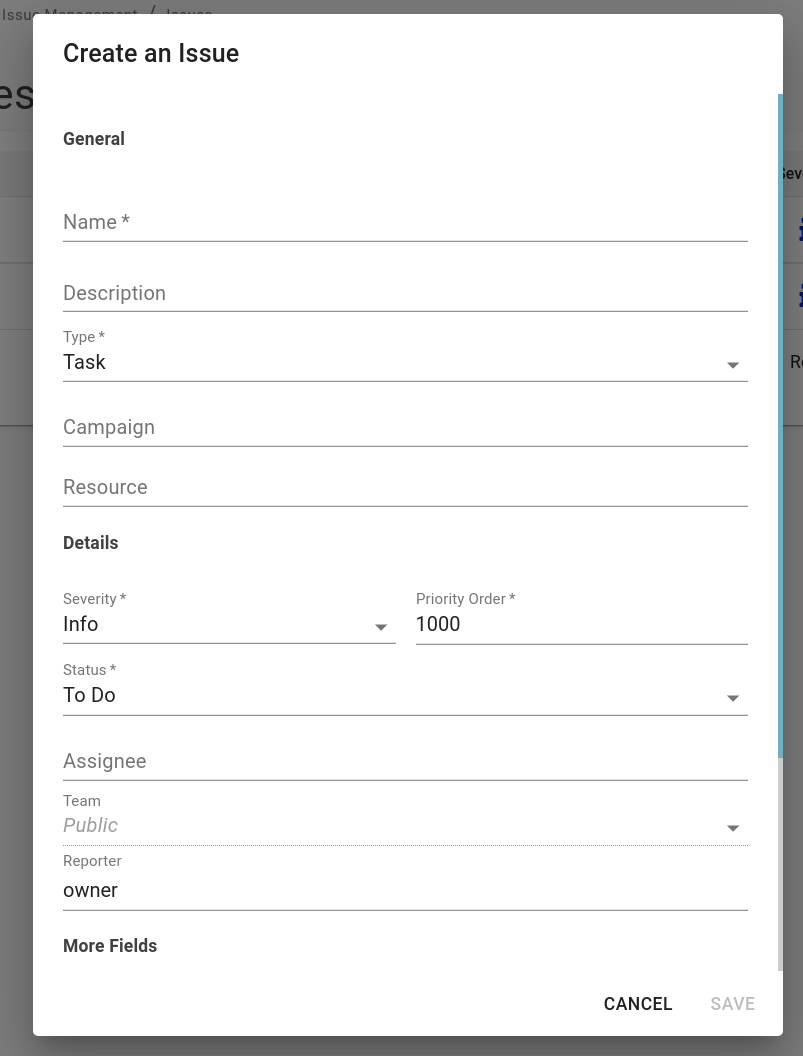
| Field | Description |
|---|---|
| Name | The name of the issue. |
| Description | A description of the issue. |
| Type | The type of issue. Blindata supports 7 different types of issues, which are:
|
| Campaign | The campaign to which the issue is associated. |
| Resource | The resource to which the issue is associated. |
| Severity | Indicates the degree of urgency with which the issue is marked. Different levels define this field:
|
| Priority Order | Numeric indication of the actual priority level of the issue. |
| Status | Indicates the status of the issue among the 4 possible:
|
| Assignee & Team | The issue can be assigned to either a user or a team. After the assignment, the responsible parties for the issue will be immediately notified. To assign the issue to a team, the user creating the issue must have reading permissions for the team. The selector only shows the teams on which the user has reading permissions. If a user wants to see all the teams, a Read All policy must be specified in the default team settings for that specific user. If the issue is created through the Blindata Agent, the user of the agent must also have reading permissions for the team. |
| Reporter | Who is reporting the issue. For convenience, Blindata automatically puts the user currently logged in as a reporter, but it is possible to change it. |
| Estimate | This field, exclusively numerical, indicates the estimated effort for solving the problem. It could indicate, for example, the days needed for work. |
| Planned Start & Due Date | The expected dates for the start and end of activities on the issue. |
The issue can be completed by additional and custom properties. To edit an issue you need to go to the issue detail page.
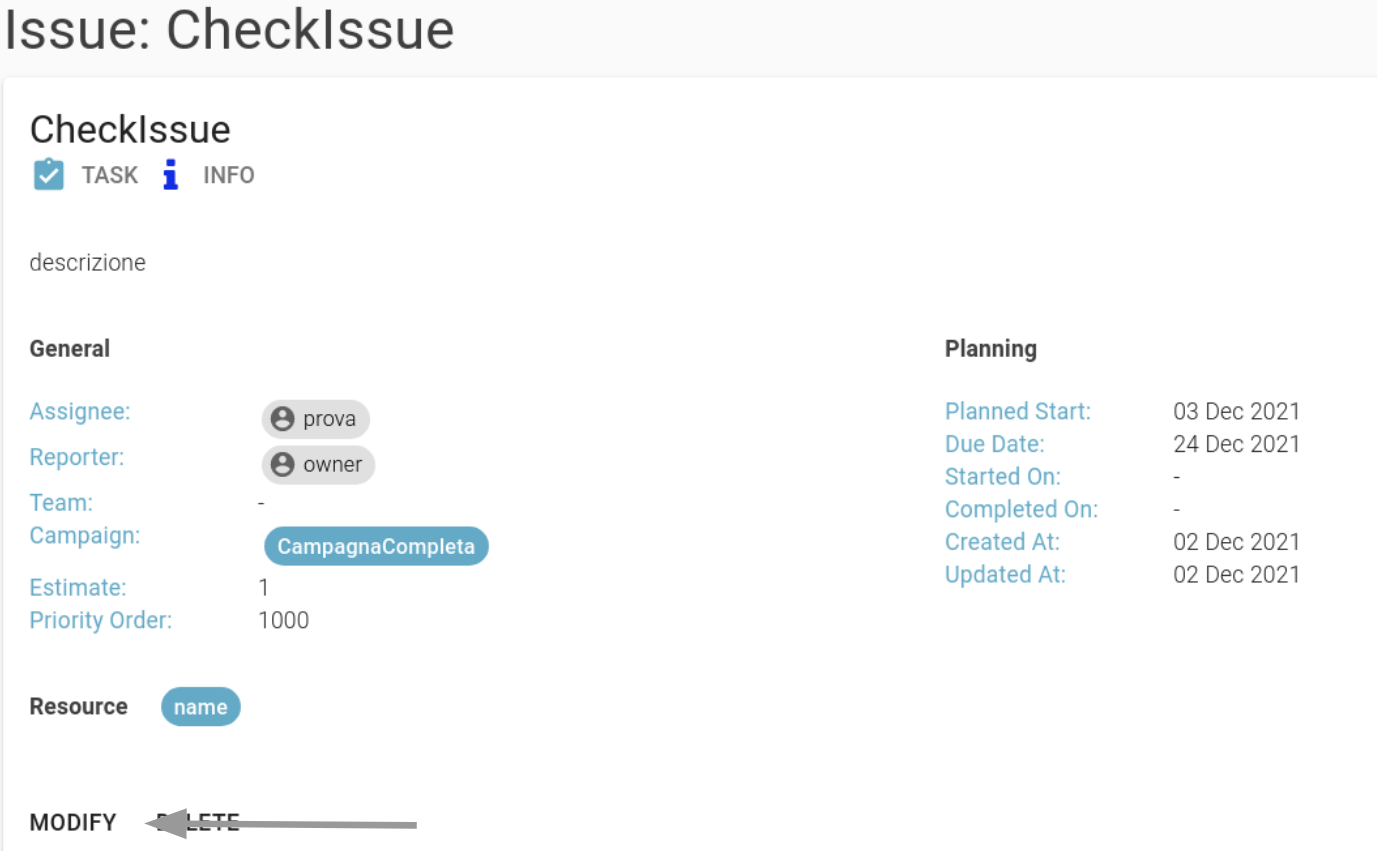
The detail page, in addition to offering cancellation and modification actions, allows you to view all the information related to the issue.
How to create an Issue on a resource
It is also possible to create an issue within a resource using the dedicated widget, which is located on the top right corner of the page.
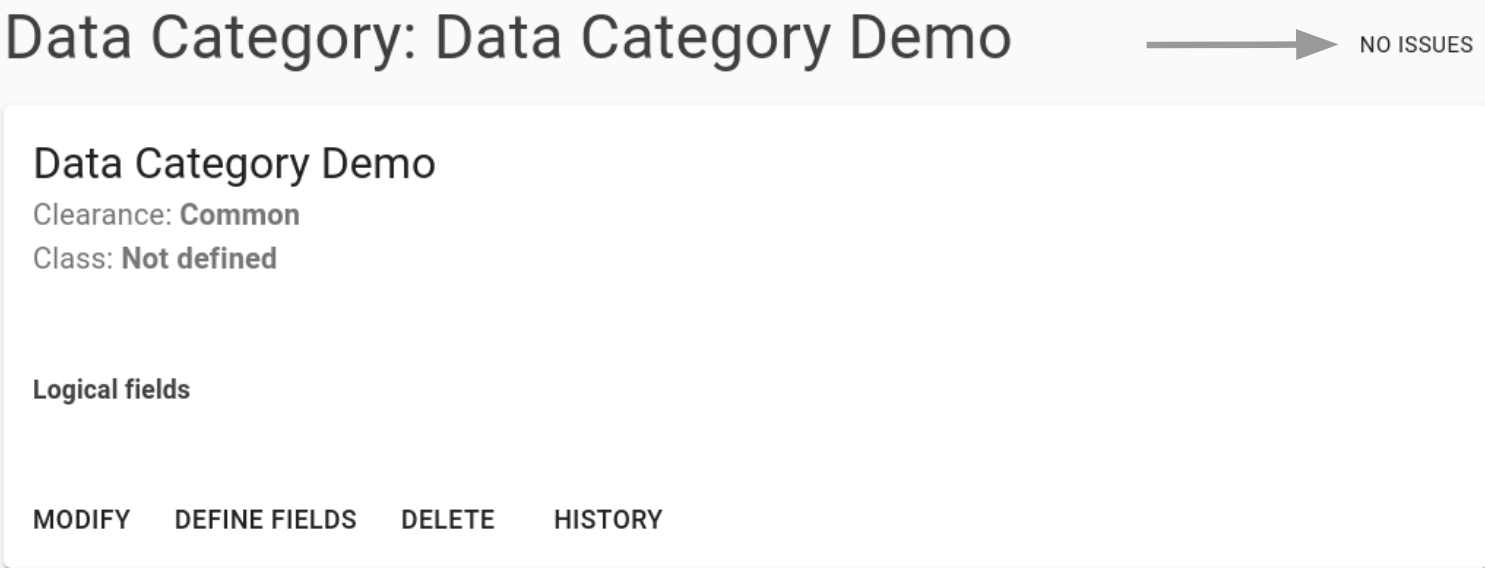 In the case shown in the image, the resource has no issue defined within it. By interacting with the widget, a modal will open in which all the issues on the resource are listed (in this case the list is obviously empty) and from which it will be possible to create a new issue.

Once an issue has been created within the resource, it will immediately be shown in the modal.
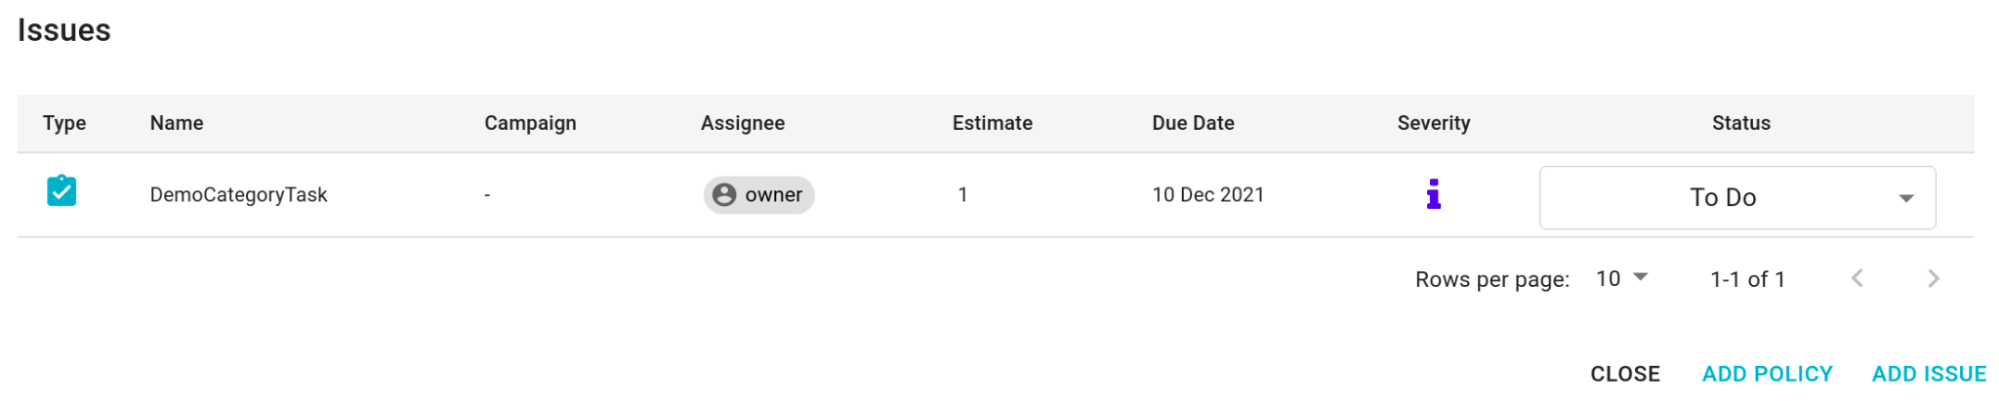
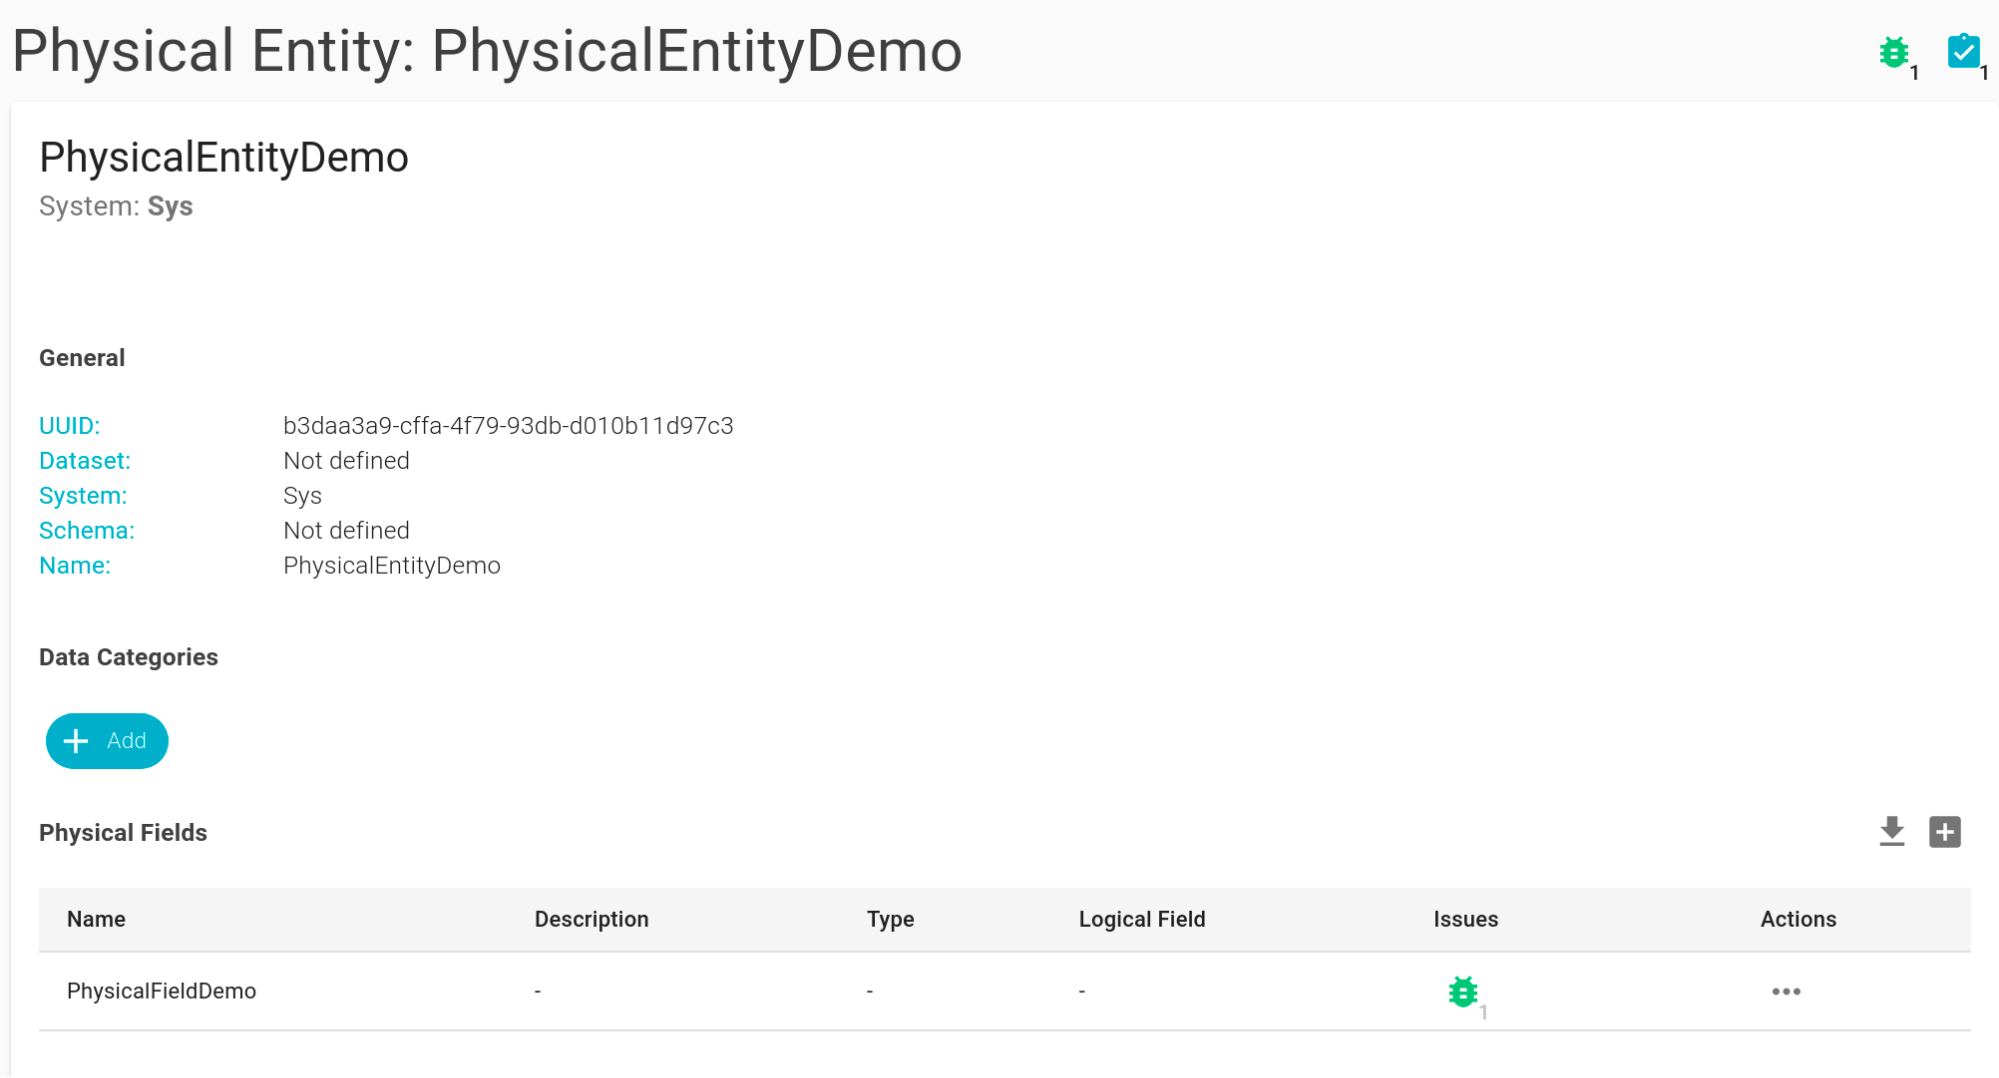
If the resource has one or more open issues on it, these will be shown in the resource detail page widget as well ( as shown in the following figure ).

Moreover, if a resource has dependent resources linked to it and there are issues defined on these latter resources, the “parent” resource in its counting component will also show these issues.
The following example shows that since there is a hierarchical relationship between the “PhysicalEntityDemo” entity and the “PhysicalFieldDemo” field, such that the field belongs to the entity, the widget present in the detail page of the entity shows both the issues directly opened on the entity and the one opened on the field (bug).
Issues and Notifications
The following events trigger notifications (via platform and email):
- to the issue reporter (if any);
- to the specific assignee (if any);
- to all operational members of any team to which the issue has been assigned;
The user who is creating, modifying, or deleting the issue is always excluded from the list of notification recipients.
| Types of Notification | Description |
|---|---|
| Creation | During the creation of an issue, the notification system aims to alert the following users :
ASSIGNED |
| Edit | Based on the modification made, different events will be notified:
|
| State Transition | The type of notification changes based on how the status is modified:
|
| Deletion | Following the deletion of an issue, the users who have been identified as the one who reported the issue (reporter) or those to whom the issue has been assigned (assignee and/or team members) are notified through a DELETED notification. |