How to Associate Users to Tenants
Overview
In Blindata, it is possible to assign a user access to one or more tenants. The assignment takes place within the user’s detail page.
The information regarding the tenants associated with the user is divided into two panels: “Default Tenant” and “Associated Tenants”.
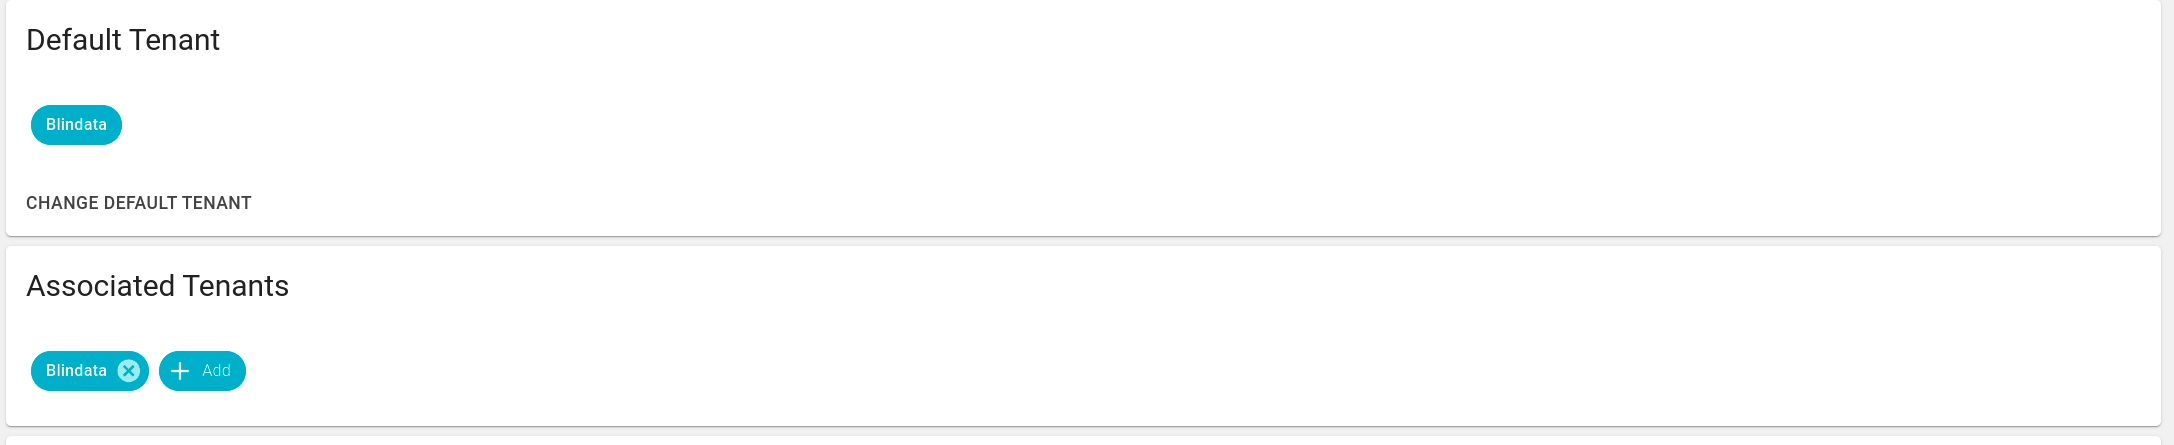
- Default Tenant: Displays the user’s default tenant. Access to this tenant cannot be removed but can still be changed using the “Change default tenant” button below. Clicking this button will open a drop-down menu with all the available tenants. Users must have a default tenant assigned; there cannot be users without one.
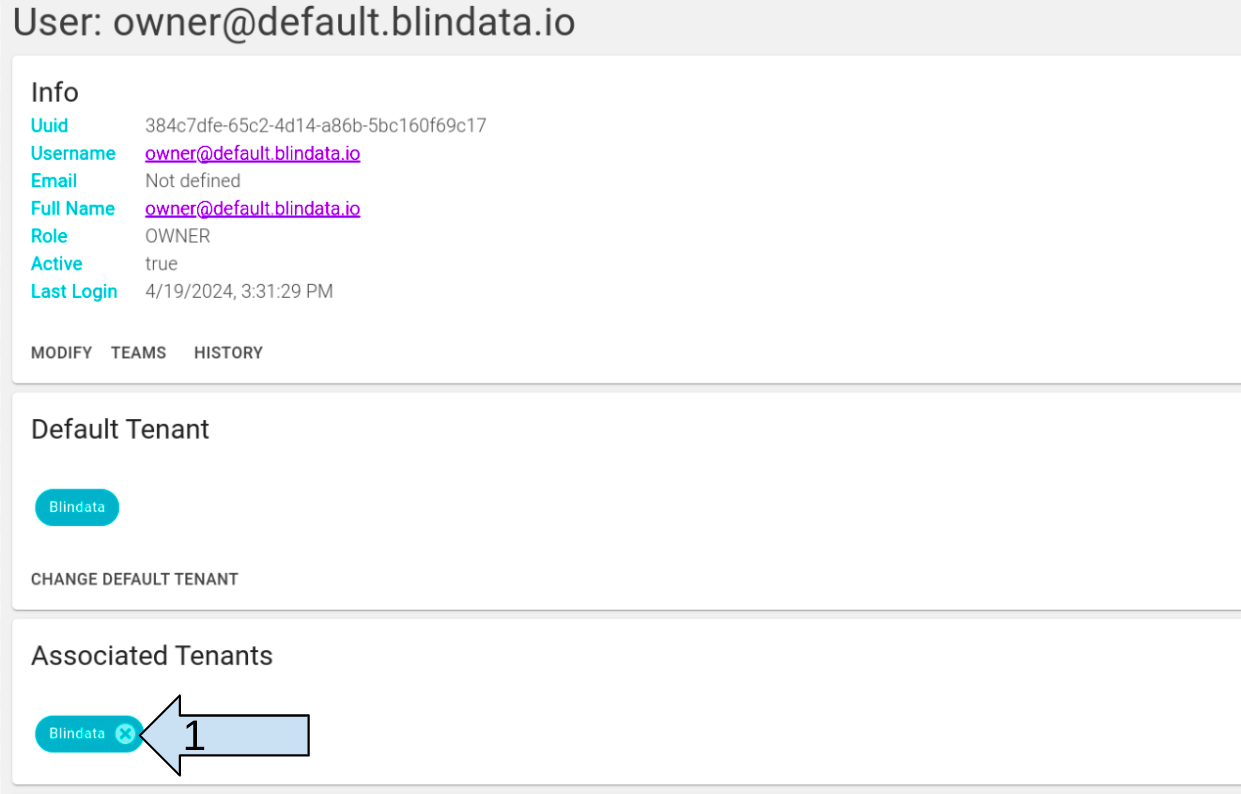
- Associated Tenants: This section displays the tenants to which our user is associated, thus granting access. Each tenant is represented by a blue icon with its name in white. Within the icon, there is an “x” that allows you to cancel the user’s association with the represented tenant. Once the link is deleted, the user will no longer be able to access the information from the removed tenant. To associate a new tenant with the user, click on the icon labeled “Add”, which opens a menu for selecting the tenant to associate.
Note
It’s important to remember that you cannot remove the association to a default tenant.
Manage Users Tenants Associations
To associate or remove a user from a specific tenant, USER_ADMIN permissions are required.
Associate User to Tenants
It is possible to associate a user with a tenant through the dedicated form within the user’s detail page whom we want to associate.
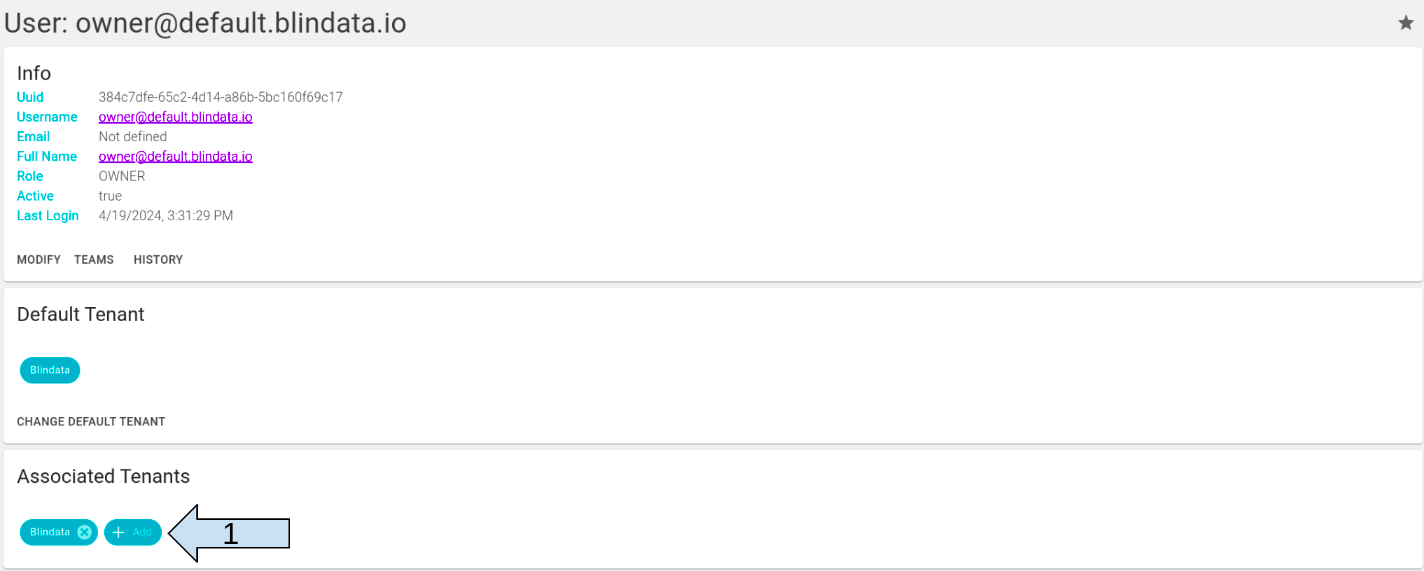
The previous button show the form for selecting the tenant to be associated.
This form displays all the tenants to which the user performing the operation is associated.
Remove Users from Tenants
To remove user from a tenant click the x icon in the photo.